Retinol is one of the most powerful ingredients in skincare. It smooths fine lines, brightens dullness, clears pores and supports collagen production. But here’s the catch: if you go in too fast, it can cause redness, dryness and peeling. The good news? With the right approach, you can introduce retinol without irritation and enjoy the benefits without the dreaded “retinol burn.”
This step-by-step, week-by-week plan will help you build tolerance safely and effectively.
Disclaimer: I am not a dermatologist or medical professional. The information shared in this post is based on personal experience and general knowledge, and is for educational purposes only. It should not be taken as medical advice. Always consult with a qualified healthcare provider or dermatologist before introducing new products, like retinol, into your skincare routine. I am not responsible for any reactions, side effects, or outcomes that may occur.
Why Retinol Can Be Irritating
Retinol works by speeding up skin cell turnover. While that’s great for anti-aging and acne, it can also temporarily disrupt your skin barrier. This is why many people experience:
- Flaking and peeling
- Dryness or tightness
- Mild redness or sensitivity
The goal is not to avoid these signs completely (a little adjustment is normal), but to minimize them. By introducing retinol gradually, your skin learns to tolerate it over time.
Week-by-Week Retinol Introduction Plan
Week 1–2: The Patch Test & Buffering Stage
- Patch test first: Apply a pea-sized amount to your inner arm or behind the ear for 2–3 nights. Check for redness, bumps, or itching.
- Start “sandwiching”: When applying to your face, use moisturizer before and after retinol (called buffering). This creates a protective layer to minimize irritation.
- Frequency: Just once a week on your face.
💡 Important: Apply retinol at night, and always use SPF during the day. Your skin will be more sun-sensitive.

Week 3–4: Gentle Introduction
- Frequency: Increase to twice a week, with at least 2–3 days between applications.
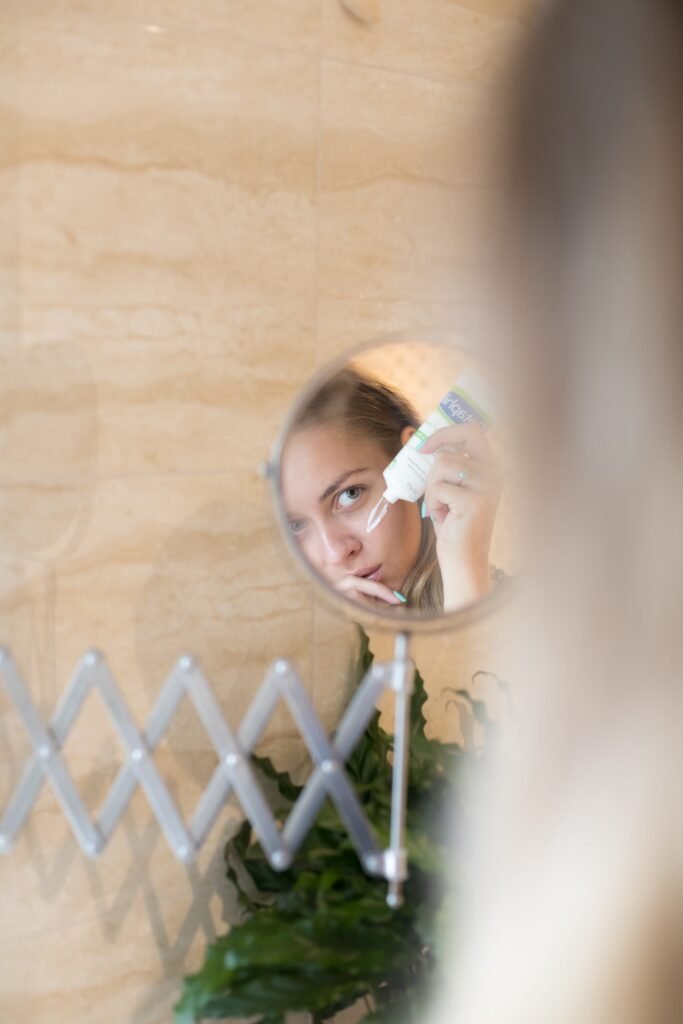
- Application: After cleansing and drying your skin, apply a pea-sized amount across your entire face (not just problem spots).
- Moisturizer pairing: Use a hydrating moisturizer with ceramides, hyaluronic acid, or glycerin.
🚫 Avoid mixing with strong exfoliants (like AHAs, BHAs, or vitamin C) on retinol nights, this can overload your skin.
Week 5–6: Building Tolerance
- Frequency: Move up to 3 times per week (e.g., Monday, Thursday, Saturday).
- Texture check: If your skin is handling it well, you can skip buffering and apply retinol directly on dry skin for more potency.
- Hydration boost: Add a gentle hydrating serum before moisturizer, such as niacinamide, to strengthen your skin barrier.
💡 If irritation occurs, step back to twice a week until your skin adjusts.
Week 7–8: Regular Use
- Frequency: Every other night, if your skin allows.
- Routine idea:
- Cleanser (gentle, non-foaming)
- Retinol (pea-sized)
- Moisturizer (rich but non-comedogenic)
Your skin should now show signs of improvement: smoother texture, less congestion and natural glow ✨
Beyond 8 Weeks: Finding Your Sweet Spot
Not everyone needs daily retinol. Some thrive on 3 nights per week, others build up to nightly use. The key is listening to your skin.
Signs you’re ready to increase frequency:
- Minimal flaking or redness
- Skin feels comfortable and hydrated
- You’re consistent with SPF in the daytime

Choosing the Right Retinol Strength
Not all retinol is created equal, strength matters. Beginners should start with a low concentration (0.1%–0.3%) to let the skin adjust and minimize irritation. Once your skin tolerates it well (usually after 8–12 weeks), you can gradually move up to 0.5% for more noticeable results, and eventually to 1% if your skin is resilient and you want maximum anti-aging benefits.
Keep in mind that stronger isn’t always better. If your skin feels dry, flaky, or irritated, it’s a sign to slow down or step back to a lower percentage. Consistency, not high strength, is what delivers long-term results.

Tips to Introduce Retinol Without Irritation
- Use SPF daily – Retinol makes skin sun-sensitive. A SPF 30+ is non-negotiable.
- Moisturize generously – Keeping your skin barrier strong reduces peeling and dryness.
- Avoid mixing actives – Skip acids and vitamin C on retinol nights. Alternate instead.
- Don’t overapply – A pea-sized amount is enough for your whole face. More product won’t speed results, it just adds irritation.
- Stay consistent – The benefits come from steady use over months, not rushing.
What to Do If Irritation Happens
Even with a slow plan, you might still get dryness or redness. Here’s how to handle it:
- Pause retinol for a few days until skin calms.
- Moisturize more often and use barrier-repair creams.
- Reintroduce slowly at a lower frequency.
If irritation is severe or persistent, consult a dermatologist, you may need a gentler formula (like retinaldehyde or bakuchiol).
Final Thoughts
Introducing retinol doesn’t have to be scary. By starting slow, using the sandwich method, and gradually increasing frequency, you can introduce retinol without irritation and unlock its powerful anti-aging and skin-clearing benefits.
Think of it as training your skin, just like building up stamina at the gym. With patience, you’ll notice smoother texture, fewer fine lines, and a radiant glow.
Affiliate Disclosure
This post contains Amazon affiliate links. That means if you click and purchase, I may receive a small commission at no extra cost to you. I only recommend products I truly believe in 💛