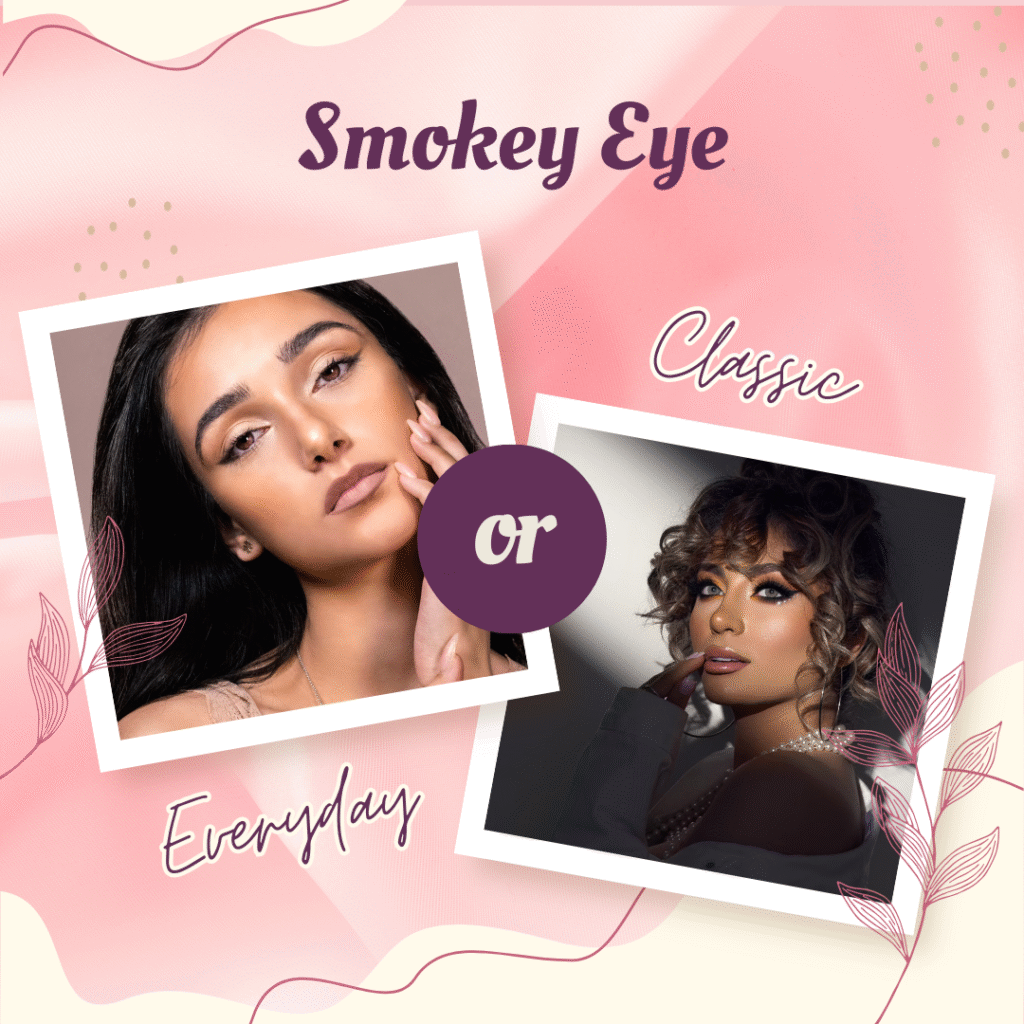
The smokey eye is one of the most timeless and flattering makeup looks ever created. It’s versatile and can instantly make your eyes stand out. But when many people think of a smokey eye, they picture a dramatic, heavy look that’s best suited for nightclubs, red carpets, or bold photo shoots.
Here’s the good news: a smokey eye doesn’t have to be over the top. You can create an everyday smokey eye for beginners that’s soft, subtle, and totally wearable for work, school, or casual days out. No hours of blending. No 20 different eyeshadows. Just a few simple steps that anyone, even beginners, can master.
In this guide, we’ll walk through the exact products, techniques, and tips you need to nail a simple everyday smokey eye without the drama.
What Is an Everyday Smokey Eye?
An everyday smokey eye is a toned-down version of the classic smokey eye. Instead of using deep blacks and heavy eyeliner, the look relies on neutral shades like browns, taupes, and soft grays (although we will give you some extra options). The goal is to add dimension and depth to your eyes while keeping the result natural and easy to wear.
Key differences from the classic version:
- Lighter shades: Think soft brown instead of jet black.
- Less product: Only 2–3 eyeshadow shades instead of a full palette.
- Blended edges: No harsh lines or heavy wings.
- Minimal fallout: Easy application that won’t mess up your base makeup.
Everyday Smokey Eye Color Palettes for Beginners
One of the best things about a smokey eye is how versatile it can be. While the classic everyday smokey eye for beginners usually sticks to neutral browns and taupes, you can easily switch up the color palette to match your mood, outfit, or the occasion (while still keeping it everyday proof). Here are a few beginner-friendly color combinations that look polished without being too dramatic:
1. Classic Neutrals
Perfect for work, school, or casual days, neutral tones are the safest and most flattering choice. Think soft beige as your base, a warm brown in the crease, and a slightly deeper chocolate shade on the outer corner. This palette works on all skin tones and creates a natural definition without looking too heavy.
2. Rosy Pinks
If you want to spice things up while still keeping your look wearable, try a soft pink smokey eye. Start with a light rose or nude pink all over the lid, blend a dusty mauve or taupe into the crease, and add a deeper plum or berry shade to the outer corner. Pair it with mascara and a nude lip for a fresh, romantic vibe.
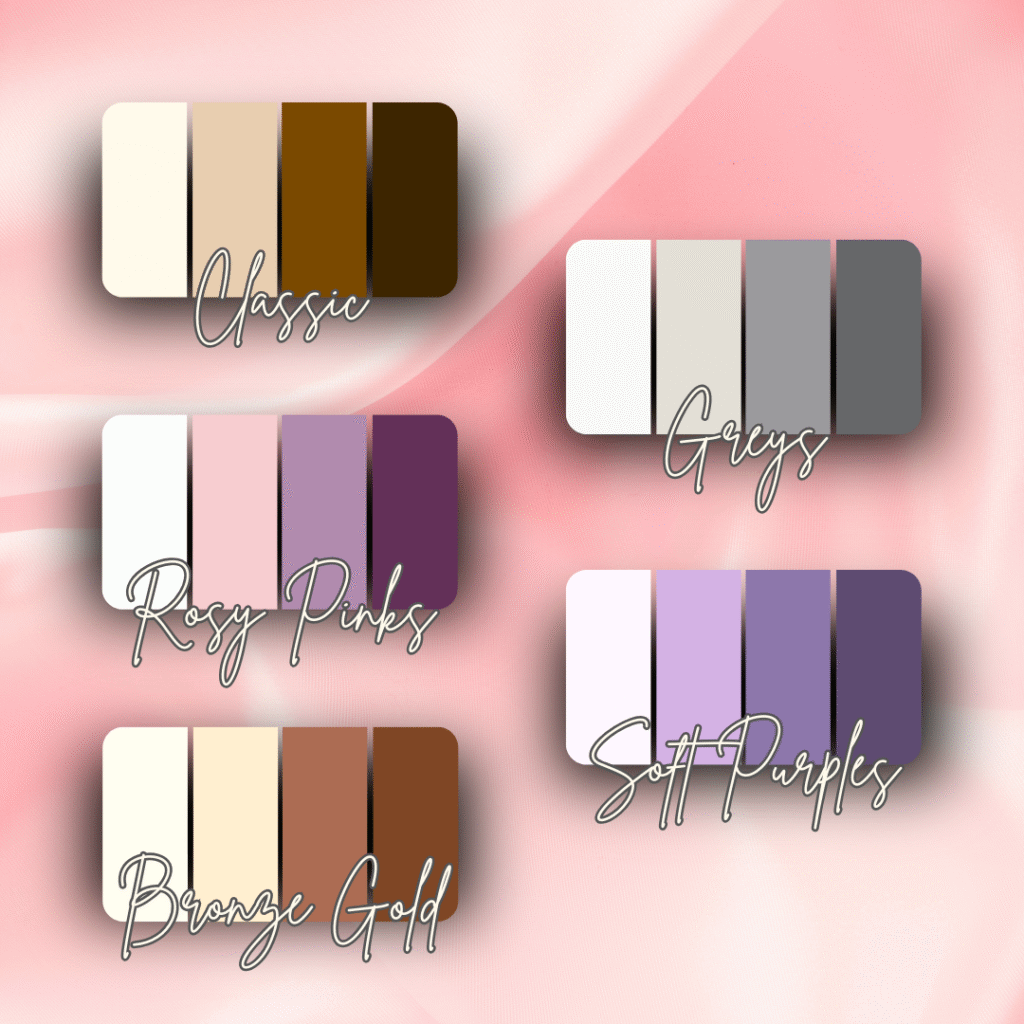
3. Bronze & Gold
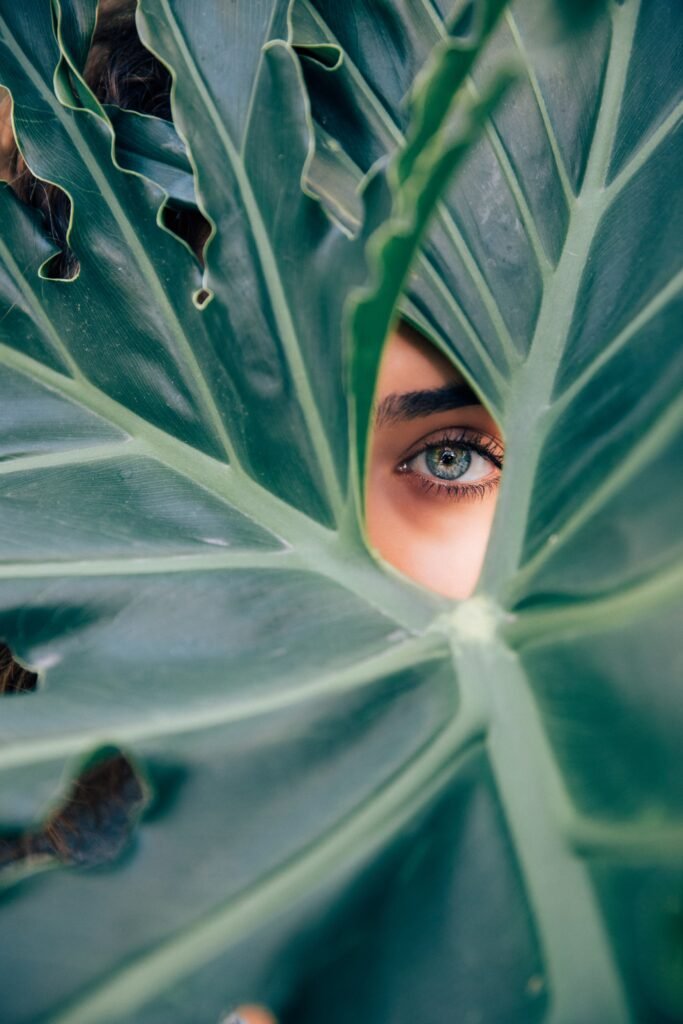
A golden-bronze palette is a foolproof way to add warmth and glow to your everyday smokey eye. Sweep a soft champagne shimmer on the lid, blend a medium bronze in the crease, and deepen with a warm brown at the edges. This combination looks especially flattering on green and blue eyes.
4. Cool Taupes & Greys
If you prefer a more subtle, cool-toned look, go for taupes and light greys. Use a matte taupe as your transition shade, layer a soft grey on the lid, and finish with a deeper charcoal on the outer corner. This creates a softer version of the classic black smokey eye.
5. Soft Purple Tones
Purple may sound bold, but when you stick to muted lilacs, mauves, and deep plums, it becomes a very wearable smokey eye option. Light lavender on the lid, a mauve in the crease, and a dark plum in the corner creates a unique but soft everyday look.
👉 Pro tip: When experimenting with colors, keep the same light → medium → dark gradient technique. This ensures your look stays balanced and beginner-friendly, no matter which palette you choose.
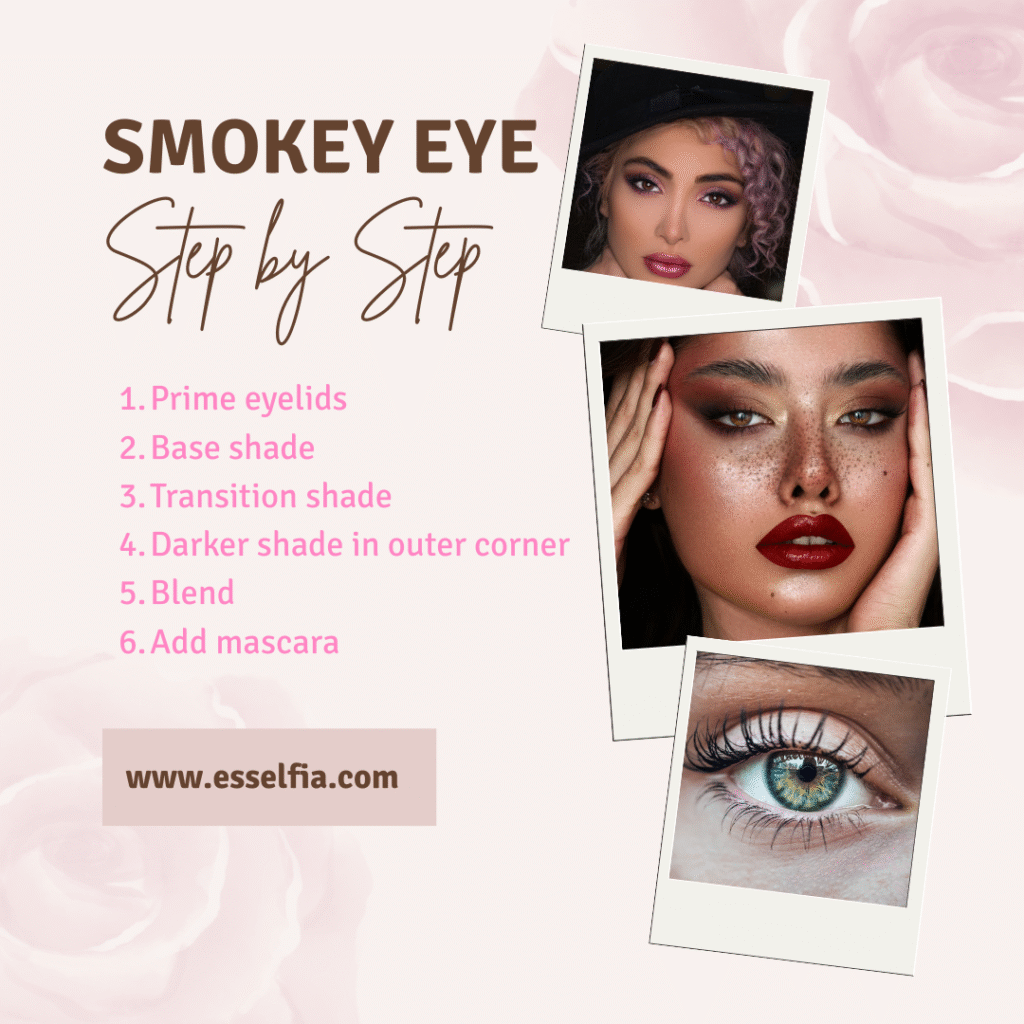
Step-by-Step Everyday Smokey Eye for Beginners
Let’s break it down into simple, beginner-friendly steps.
1. Prime Your Lids
A smooth base helps the eyeshadow stick better and prevents creasing. Use an eyeshadow primer or simply dab a bit of concealer over your lids and set with translucent powder.
Pro tip: If you have oily eyelids, primer is a must. It will keep your smokey eye looking fresh all day.
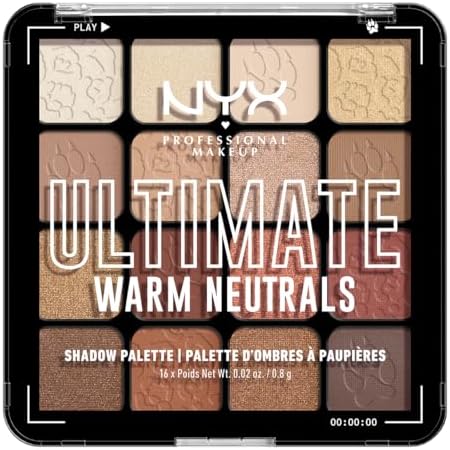
2. Choose Your Shades
For an everyday smokey eye, stick with three shades:
- Base color: For example a light neutral shade close to your skin tone.
- Transition shade: For example a medium matte brown or taupe.
- Depth shade: For example a slightly darker brown or gray for definition.
You don’t need a huge palette, just a trio of shades is enough.
3. Apply the Base Color
Sweep the lightest shade all over your lid using a fluffy brush. This sets the tone and makes blending the darker colors easier.
4. Add the Transition Shade
Take the medium shade and apply it to your crease using a windshield-wiper motion. This step creates depth and ensures the darker shade blends seamlessly later on.
Tip: Hold your brush lightly at the end of the handle for softer, more diffused blending.
5. Smoke Out the Outer Corner
With a smaller blending brush, apply the darkest shade to the outer corner of your eyelid. Blend it slightly into the crease and toward the center of the lid. Keep the color concentrated at the edges so it doesn’t overwhelm the eye.
6. Blend, Blend, Blend
Blending is what makes a smokey eye look soft and wearable. Use a clean fluffy brush to gently buff out any harsh lines between your shades. Remember: it’s better to apply a little color and build it up than to start too dark.
7. Line the Eyes (Softly)
Skip the harsh black liner for daytime. Instead:
- Use a brown or gray pencil liner along the upper lash line.
- Smudge it with a small brush or cotton swab for that “smokey” effect.
- Optional: Lightly line your lower lash line with the same shade for extra definition.
8. Highlight the Inner Corner
Dab a touch of a shimmery champagne or pearl shade into the inner corner of your eyes. This brightens the look and keeps it from feeling too heavy.
9. Finish with Mascara
Apply one or two coats of mascara to your top lashes (and bottom lashes if you like). Mascara helps balance the smokey effect and open up the eyes.
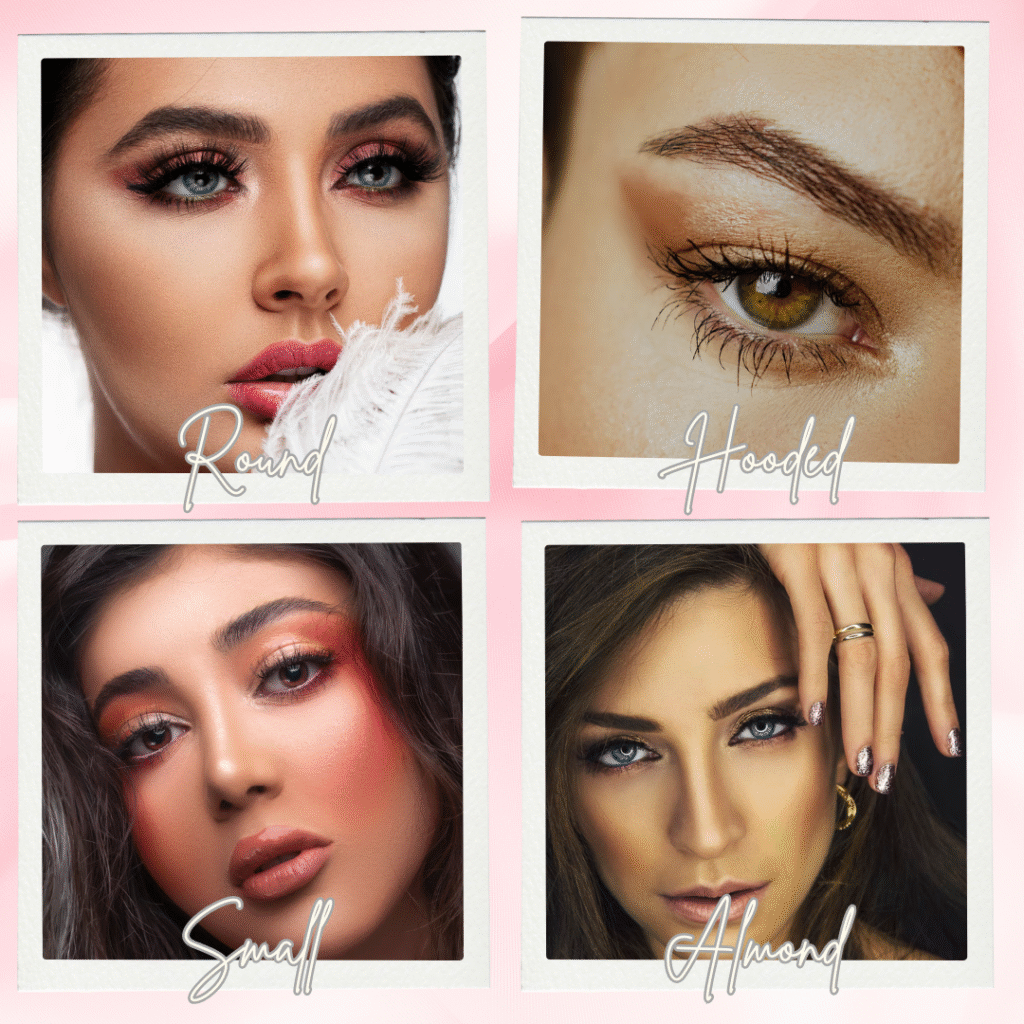
Everyday Smokey Eye for Different Eye Shapes
Not all eyes are the same, and your application might need a slight tweak.
- Hooded eyes: Keep the darkest shade slightly above your crease so it shows when your eyes are open.
- Small eyes: Focus on lighter shades and avoid lining the entire lower lash line, which can make eyes look smaller.
- Round eyes: Extend the outer corner shadow slightly outward to elongate the eye shape.
- Almond eyes: Almost any smokey technique will work, lucky you!
Common Mistakes Beginners Make
When trying an everyday smokey eye, these are the pitfalls to avoid:
- Using too much black → makes the look harsh.
- Skipping blending → creates harsh, unflattering lines.
- Not prepping the lids → leads to creasing and smudging.
- Using the wrong brushes → fluffy blending brushes are your best friend.
Final Thoughts
You don’t need to be a makeup pro to rock a smokey eye. With just a few neutral shades, the right blending technique, and some practice, you can achieve an everyday smokey eye for beginners that looks effortless.
It’s a look that takes only 5 minutes once you get the hang of it, and it’s versatile enough to wear daily without feeling over the top.
So next time you reach for your makeup bag, try this toned-down version of the smokey eye, you might just find it becomes your new go-to look.
Affiliate Disclosure:
This post contains Amazon affiliate links. If you purchase through these links, I may earn a small commission, at no extra cost to you. Thank you for supporting my content!