Disclosure: This post contains Amazon affiliate links. That means if you click and make a purchase, I may earn a small commission at no extra cost to you. I only recommend products I truly love or would use myself. Thank you for supporting this blog and helping me keep the content free and helpful! 💛
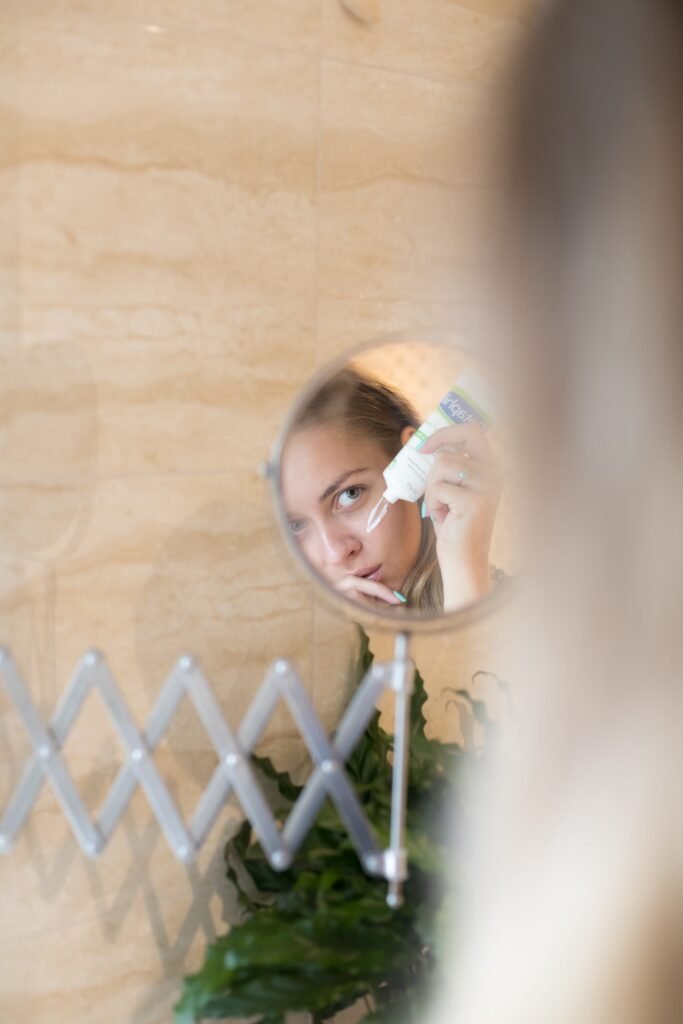
Want that fresh-from-the-spa glow without leaving your house (or spending a fortune)? A DIY at-home facial is the perfect way to nourish your skin, boost circulation and relax all in under an hour.
In this guide, you’ll learn how to create a radiant-skin facial at home, step by step. No fancy equipment required, just a few affordable products and a little time and patience. Ps this is also a great activity to do with someone else like your friends or family!
Why Do an At-Home Facial?
- ✨ Glow boost: Removes dead skin and reveals a fresh layer underneath.
- 💧 Deep hydration: Allows serums and moisturizers to absorb better.
- 🧘 Relaxation: Taking time for yourself reduces stress (and it shows on your face).
- 💵 Budget-friendly: Enjoy spa-like results without professional prices.
DIY At-Home Facial: Step-by-Step
1️⃣ Cleanse Thoroughly
Start with a gentle cleanser suited to your skin type. Massage it in circular motions for 30–60 seconds to remove makeup, sunscreen and other impurities. Rinse with lukewarm (not hot!) water.
💡 Tip: Double cleanse if you’ve been wearing makeup or sunscreen all day. Start with an oil-based cleanser, then follow with a water-based one.
2️⃣ Exfoliate for a Smooth Base
Buff away dead skin cells to reveal a brighter complexion. Pick one of the two types below.
- Physical exfoliants: Fine scrubs (use with light pressure).
- Chemical exfoliants: AHAs (like glycolic or lactic acid) or BHAs (like salicylic acid).
⚠️ Avoid overdoing it: exfoliate 1–2 times per week, not daily, to prevent irritation.

3️⃣ Steam to Open Pores
Fill a bowl with warm/ hot water and place your face over it (about 30 cm / 12 in away). Drape a towel over your head to trap the steam. Stay for about 5 minutes. If you feel uncomfortable with the heat or for any other reason, do it for a shorter amount of time.
- Steam softens debris in pores and improves circulation.
- Keep the temperature comfortable. It should feel warm, not scalding.
4️⃣ Apply a Face Mask
Choose a mask based on your skin’s needs:
- Clay or charcoal → oily or congested skin.
- Hydrating gel or cream → dry or dull skin.
- Soothing sheet mask → sensitive skin.
Leave it on for 10–15 minutes, then rinse or remove according to instructions.
5️⃣ Treat with Serum
While your skin is still slightly damp, apply a serum rich in vitamin C, hyaluronic acid, or niacinamide. These ingredients brighten, hydrate and support a healthy skin barrier.
6️⃣ Moisturize & Seal
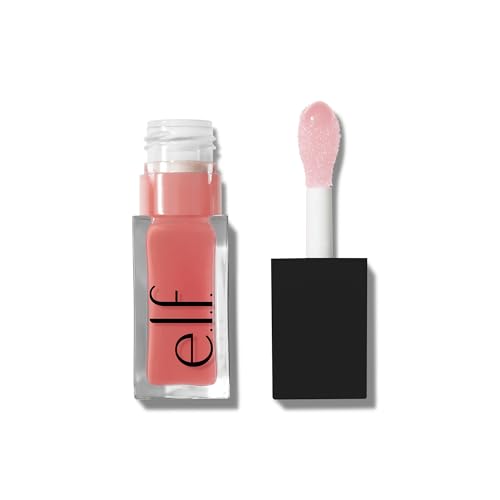
Lock in all that goodness with a nourishing moisturizer. Massage it in using upward strokes to encourage circulation and a subtle lifting effect. Bonus: use a lip oil to moisturize your lips.
7️⃣ Don’t Forget SPF (Daytime Only)
If you’re doing your facial in the morning or afternoon, finish with a broad-spectrum SPF 30 or higher. Sun protection keeps skin radiant and helps prevent premature aging.

Pro Tips for the Best Results
- Keep tools (like brushes or steamers) clean to avoid bacteria transfer.
- Perform an at-home facial once a week or every other week, more often can irritate skin.
- Pair your facial with calming music, candles, or herbal tea for a true spa vibe.
- Always patch test new products, especially if you have sensitive or acne-prone skin.
🛍️ What You’ll Need for Your At-Home Facial
Having everything ready before you start makes your DIY facial feel like a real spa experience. Here’s a simple checklist of products and tools I would recommend:
1️⃣ Cleanser
- CeraVe Hydrating Cleanser – great for normal to dry skin
- La Roche-Posay Toleriane Purifying Foaming Cleanser – ideal for oily or combo skin
- The Ordinary Squalane Cleanser – gentle and works for all skin types


2️⃣ Exfoliator (1–2 times a week)
- Paula’s Choice Skin Perfecting 2% BHA Liquid Exfoliant (targets blackheads and uneven tone)
- The Inkey List Glycolic Acid Toner (brightens dull skin)
- Dermalogica Daily Microfoliant (gentle powder scrub)

3️⃣ Steaming Tools
- A large ceramic bowl and a soft towel
- Optional: Pure Daily Care NanoSteamer for that luxe spa vibe


4️⃣ Face Masks
- Innisfree Super Volcanic Pore Clay Mask – deep-cleansing for oily skin
- Laneige Water Sleeping Mask – hydrating boost (more for overnight use)
- Garnier SkinActive Moisture Bomb Sheet Mask – quick moisture surge


5️⃣ Serum
- La Roche-Posay Hyalu B5 Serum (hydration + plumping)
- Timeless 20% Vitamin C + E + Ferulic Acid Serum (brightening)
- The Ordinary Niacinamide 10% + Zinc 1% (soothes redness and balances oil)


6️⃣ Moisturizer
- CeraVe Moisturizing Cream – rich yet non-greasy (my all time favorite moisturizer)
- Neutrogena Hydro Boost Water Gel – lightweight hydration
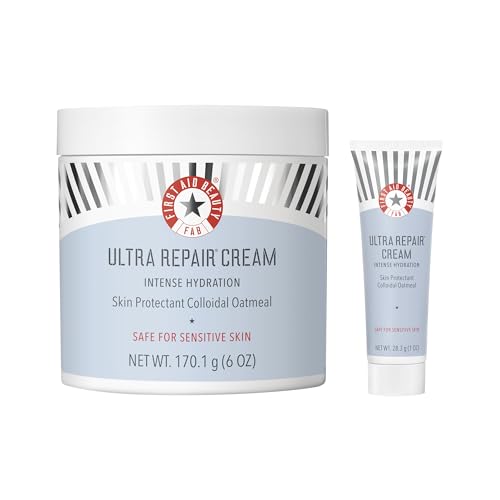
- First Aid Beauty Ultra Repair Cream – gentle for sensitive or dry skin


7️⃣ Sunscreen (if your facial is during the day)
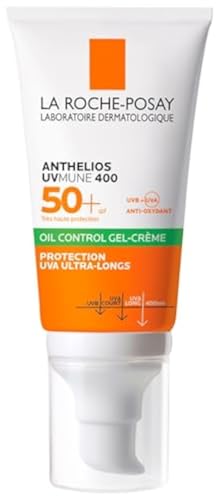
- La Roche-Posay Anthelios Melt-in Milk SPF 60
- Supergoop! Unseen Sunscreen SPF 40
- Bondi Sands Fragrance Free Face SPF 50


8️⃣ Optional Spa Tools
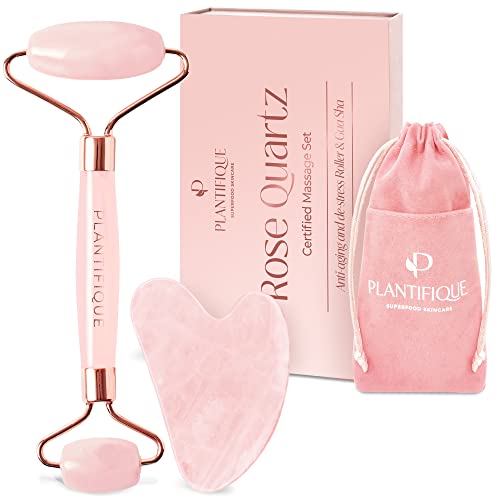
- Jade or Rose Quartz Roller – helps serums absorb & calms skin
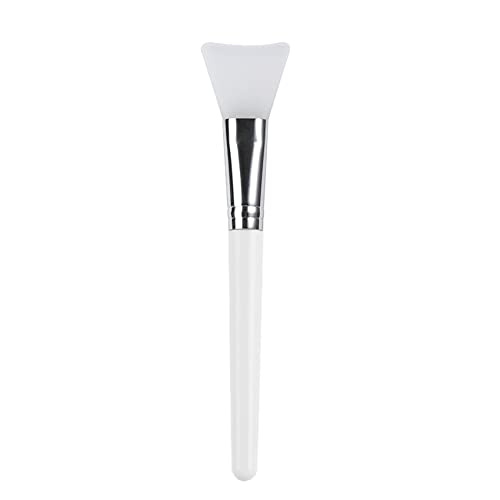
- Silicone Face Mask Brush – keeps mask application clean
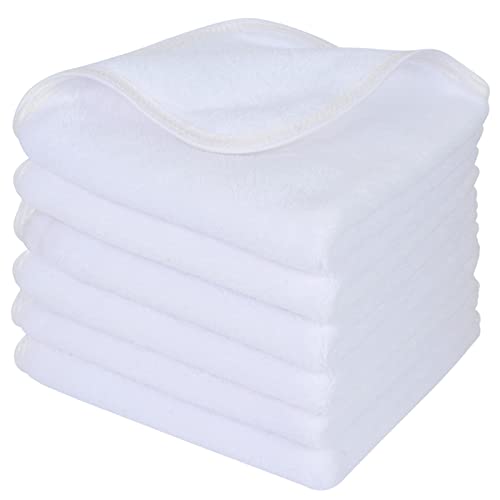
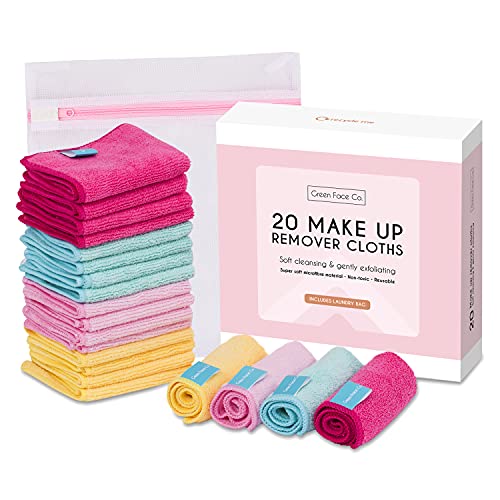
- Soft microfiber cloths – gentle removal without irritation
- Hydrating Eye Patches – use these while you have your mask on
- Lip oil or lip mask- use these while you have your masks on
💡 Pro Tip: Always patch-test new products before a full facial, and avoid over-exfoliating. Less is more when it comes to glowing skin!


DIY Facial FAQs
Once a week or every other week is ideal. More frequent facials can disrupt your skin barrier.
Yes, if you’re not allergic! Honey is naturally soothing, and yogurt’s lactic acid gently exfoliates. Always patch test first.
Yes, if done carefully. Keep the steam mild, limit to 3–5 minutes and avoid if you have rosacea or broken capillaries.
No, a bowl, towel, and your hands work fine. A facial steamer or jade roller is optional but not essential.
Final Thoughts
With the right approach, a DIY at-home facial routine can leave your skin glowing, hydrated, and refreshed. No expensive spa trip required. Follow these steps once or twice a month to maintain healthy, radiant skin while enjoying a little self-care ritual. What’s not to love?!
Do you do your facials at home? Or are you more of a spa girly? Let me know below 💛